
People keep complaining that they can't find mum's doorbell (not sure why, it is on the house right at the end of the driveway!).
I came across a large yellow button online about the time I swapped out the wireless doorbell button for a fresh one as the old one's casing was getting too weather-worn, though the circuit inside was fine.

Adding an aluminium case and splitting open the doorbell to get to its circuit board had me ready to go:
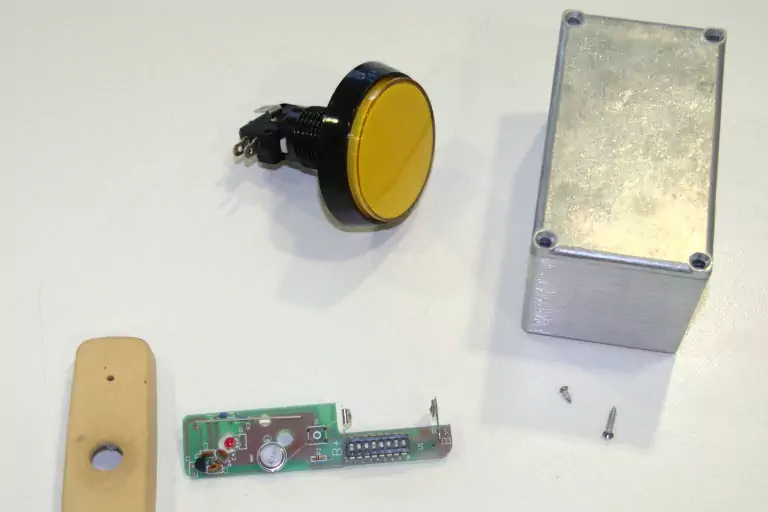
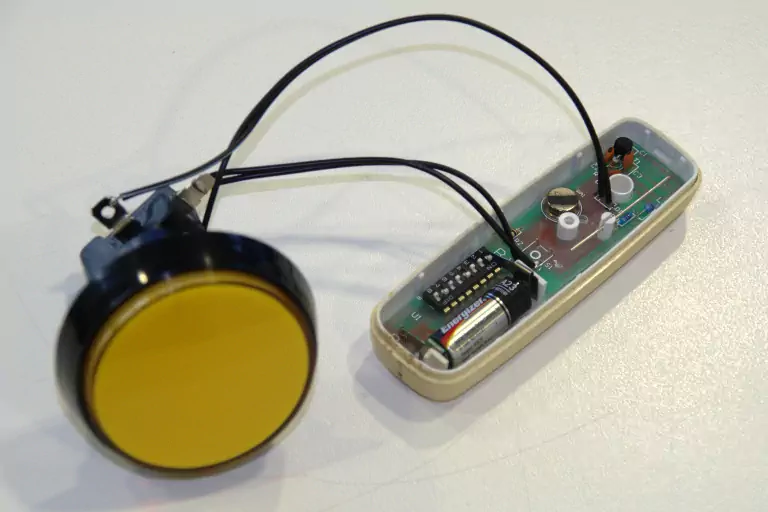
I wired the switch's NO (Normally Open) and C (Common) terminals across the terminals of the circuit-board's button, and replaced the LED with wires to the LED inside the button housing. I bypassed the button-LED voltage drop resistor (the button is designed for 12V, but the circuit board is designed to direct-drive the 2v LED, so the resistor is unnecessary and would just make it too dim to see).
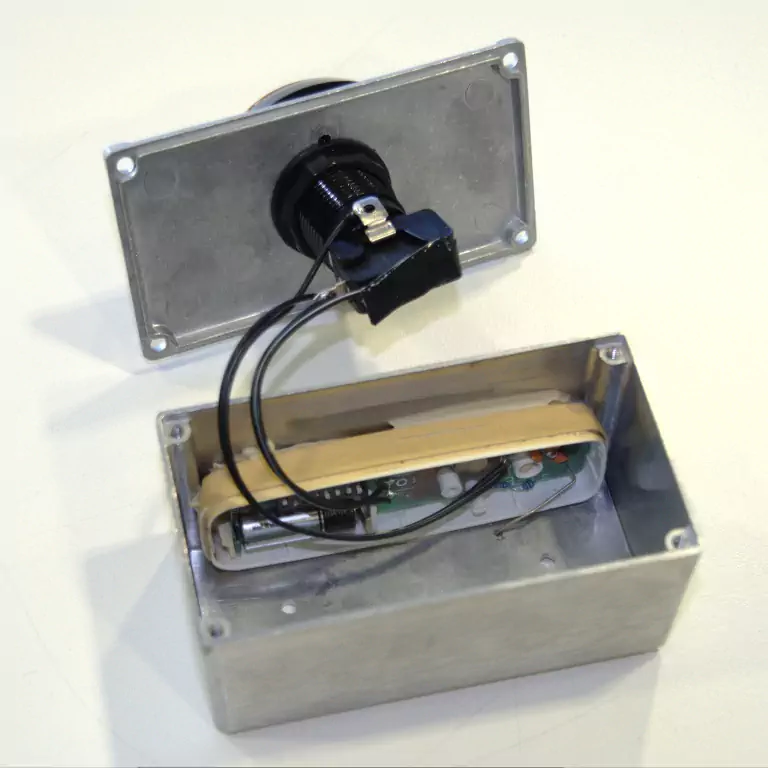
Then I assembled it all, holding the degraded-plastic doorbell case in place with a few big blobs of construction adhesive. Also a bit of tape over the bottom switch terminal to make sure it didn't short to the case, as it was quite a tight fit!
I also bought the antenna wire outside the case through a small hole as otherwise the aluminium case would block the signal (now, as the antenna is in contact with the aluminium case, the case itself forms part of the antenna).
Finally, I put the top on the case and was done. Ding Dong!
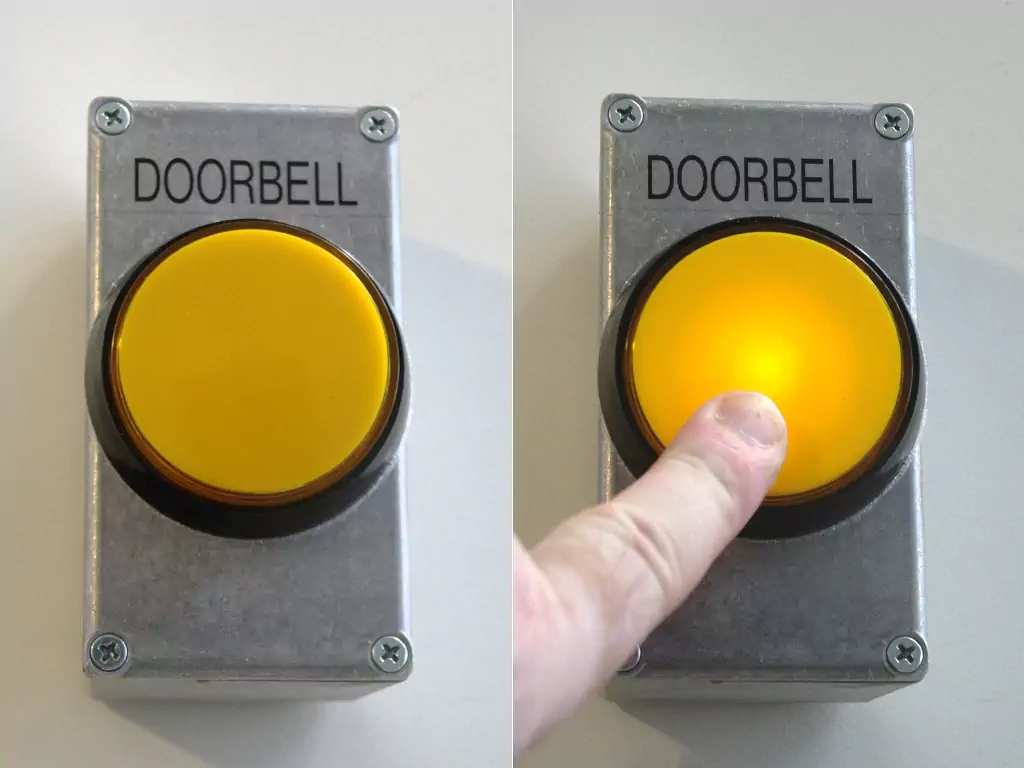
A quick simple project with no real electronics knowledge needed - just a bit of soldering of wires.
Mum likes the big doorbell but chose not to install it on her wall (not surprisingly :-).
 Glenn's home page.